7 Basic Tips to Make Your Photos Look Professional
7 Basic Tips to Make Your Photos Look Professional Check some nifty recommendations on making your photos look better, even if you're using a low-budget camera or a mobile phone.
These days, there are no excuses for bad photos. Cameras are better than ever, mobile phone camera technologies broke all possible barriers, and editing tools are aplenty. Making your photos look professional is not as hard as it would be 10 years ago. Even absolute amateurs can now take decent-looking images and improve them even further with proper editing.
Regardless of whether you’re new to photography or you already know a lot, there is always room for learning and improvement. Here are some nifty tips on making your photos look more professional, even if you’re using a low-budget camera or a mobile phone.
Learn Basic Photography Rules
There’s a lot of you can learn about composition, layout, and lighting even in a short photography course. It might seem boring if you just want to get out there and enjoy taking photos, but trust us, it’s worth it in the long run.
Mind the so-called rule of thirds as you’re shooting your photos: before you take the picture, imagine a grid with 9 equal squares. The point of this rule is to give your viewer a natural flow of the elements in the photo. The squares are formed by two equally spaced horizontal lines and two equally-spaced vertical lines, and key elements of the composition are recommended to be placed along these lines or their intersections.
There are also other common rules in photography, such as the horizon line, which should always be placed above or below the exact center of the photograph. Take some time and dive into the details, because photography really is a science! You don’t have to blindly follow its rules, but they are great guidelines to create professional photos.
Focus the Main Object
Before you click the shutter button, ensure the photo is focused. In other words, visually emphasize the central object in the photo.
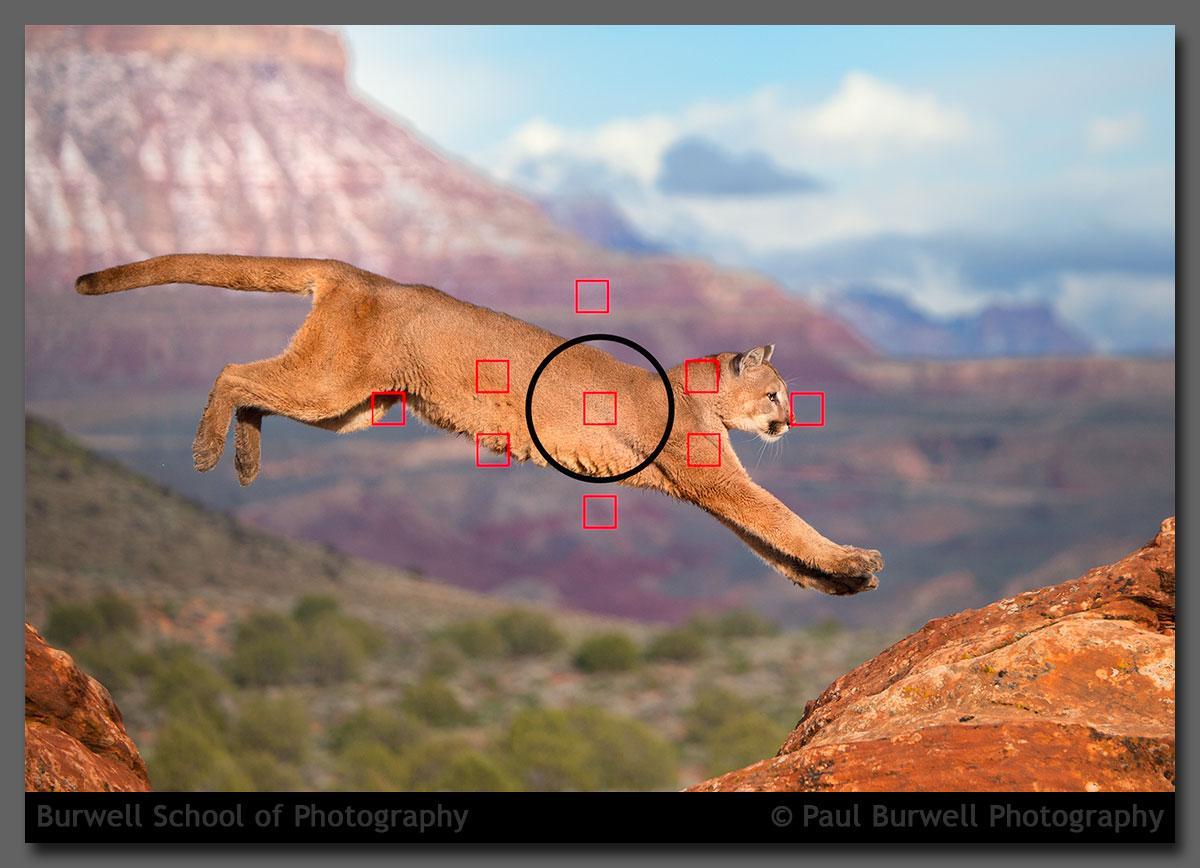
Image source: Burwell School of Photography
The good news is that most mobile phones that have this option only require a touch of the central object and the focusing is done instantly. Other devices that have the autofocus option will recognize the primary object automatically, and you won’t even have to tap on it. In the settings, you will be able to determine the amount of blur and central object sharpness you want.
Samsung’s, iPhone’s, Huawei’s, and all other new generations of phone cameras are now paying particular attention to auto-focus and other photo focus options. It’s a trick that’s quite easy to set up, but it’s incredibly effective. Simply tapping an area on your phone can make your photo look much more professional.
Mind the Exposure
Exposure is another essential element of photography that can have a significant impact on how professional your photos turn out. Exposure signifies how much a photograph is exposed to light (be it natural or artificial).
Using modern editing tools and Photoshop, you can play around with exposure after you’ve already taken the photo, but your best bet is to nail it as close to perfect on the original. If the exposure works great, editing will be a piece of cake.
Try HDR
HDR in photography stands for High Dynamic Range. This photo option has a goal of reproducing all the details and visual inputs in the scene, even those you can’t see with the naked eye.

Image source: Digital Photography School
HDR implies everything from colors, details, shadows, contrasts, and all those tiny things you might not be aware of. Even though they are aspects that you don’t notice, enhancing them can boost the atmosphere and enrich the photograph.
The HDR system works by creating several different photographs in one session, but with different settings. In the final step, it connects all the versions into a single photo, thus integrating all the aspects of the scene that’s before you. HDR is getting more and more popular both among amateurs and professional photographers. Regardless of your level of experience, HDR will surely improve your satisfaction with the final photographs.
Explore Online Services and Tools
You can save time by using online services and tools that can automate some of the footwork, help you track your progress, or teach you more about the rules of photography.
If you’re just a beginner, it would be a good idea to start a photography blog where you will showcase your favorite pieces. This will have multiple benefits:
- you’ll have the motivation to take photos regularly
- you will be able to get feedback from members of the photography community
- through sharing the knowledge with others, you will deepen your own
Try the Google Lens
While we’re on the topic of online tools, services, and apps, it’s definitely worth it to mention the Google Lens app, which can help even complete amateurs create professional-looking photos.
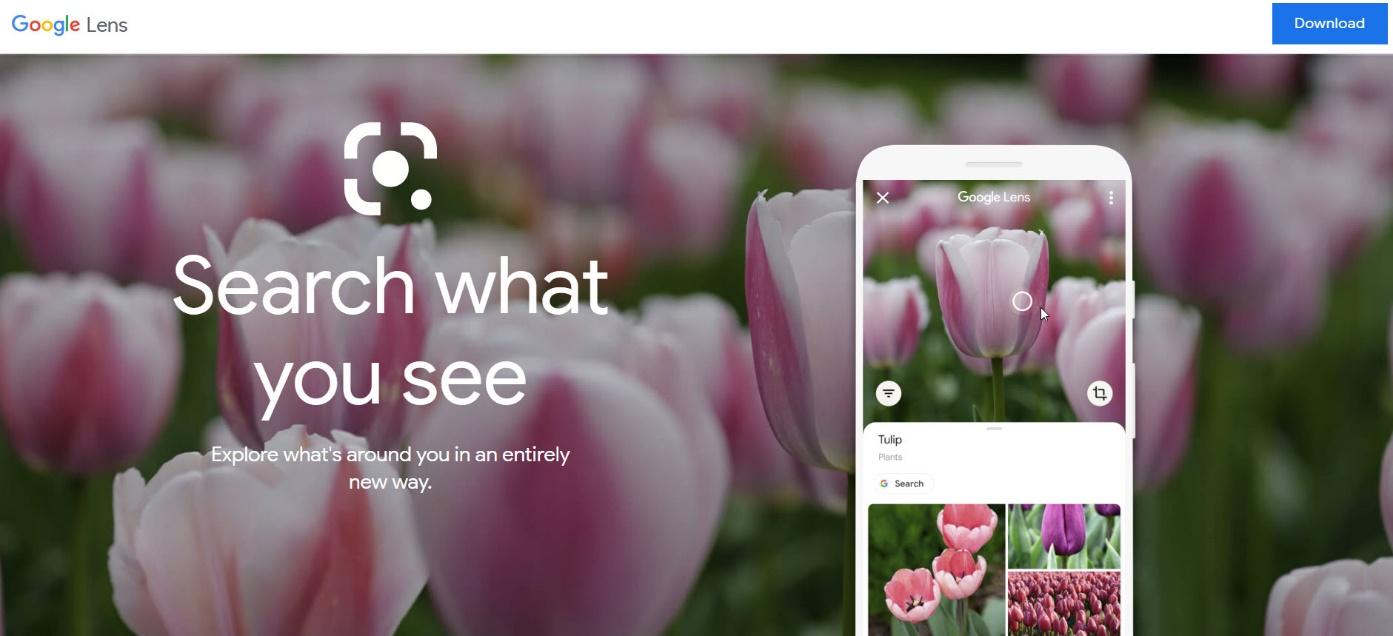
Back in 2015, Google came out with an improved photo-taking app intended for their Nexus devices (now, all devices use it). It introduced huge improvements in mobile phone photography. There’s the Photo Sphere, which enabled users to take a fish-eye, wide-angle, or panoramic photo. Lens Blur was also introduced as a new shutter mode, which really raised amateur photography to the next level.
Editing Is King
There’s not enough that can be said to explain the importance of editing once the initial material is captured. Many people don’t know this, but professional photographers spend hours, days, weeks, and even months trying to tweak their photos to perfection.
Also, laymen usually consider editing to be much easier than it actually is. Just pop it over to Instagram filters or Photoshop and voila – you got yourself a professional photo? Absolutely not. Learning how to edit photographs is a valuable skill that takes time and effort to master.
Editing is like “the other side” of photography work. It’s completely different from the moment where you’re looking for the perfect shot. While you’re shooting, you’re looking for inspiration, unique shots and perspectives, breathtaking views… While you’re editing, you’re looking for flaws and possible improvements. In other words, you take photos like an artist, but you edit like a scientist.

Conclusion
As a photographer, whether you’re an amateur, enthusiast, or a pro, you probably know there are diverse factors that go into creating a perfect photo. Luckily, using the tools and services that are easily available nowadays, you can achieve that without using too much time or resources. Open up to new professional opportunities by using some of the tips we have mentioned above to make your photos look more professional!
About the author: this is a guest article by Donald Fomby, a self-taught content writer who’s using his degrees in computer science and digital marketing to write about content marketing, web design, UX, and SEO. Currently, he’s also a writer at Supreme Dissertations and TrustMyPaper. Donald focuses on sharing useful knowledge for small and medium-sized businesses on how to manage their web presence and content marketing strategies.
You may also like the inspiring collections of food photography and packaging designs.
- English
- Ukrainian